Showing posts with label crafts. Show all posts

March 12, 2012

Nursery Progress

As you may recall, we once lived in an apartment that was much too small for a giant desk, a baby-in-the-making, and a million rollie pollies that insisted on paying homage to our bathroom every Spring.  As much as I looked forward to decorating a nursery, I was very hesitant to tackle the nursery/office/storage/I-hate-this-room room.

And here it is, in all of its glory (and so that you are more impressed with the anticlimactic ending to this post):


Then, when I was 8 months pregnant, we discovered that we would be moving when I was 9 months pregnant.  Now, if that doesn't motivate someone to decorate a nursery, then I don't know what would.  (Swollen sausage feet?)  So, I gathered all of the strength and creativity that I could manage and made a few pom poms:

   
And the result was rather sad.  
(As is the quality of these pictures.  Let's blame Clara-in-utero.)

Somewhere around the first of the year, I had a burst of energy.  This was also around the time that I kicked Clara out of our bedroom for sleeping like a boob-aholic dolphin with spidey senses.  My mom helped me paint (Robins Nest, my favorite color!) and I decided to incorporate pink into the room.  (I had originally planned on yellow, but began finding it hard to combat all of the pink things Clara was acquiring!)


And I finally made the curtains I had been planning for months!


And then, I realized that I hadn't taken any current photos, even though that was the point of this whole post, so I rushed to clean Clara's room and take a few decent pictures.  

(10 minutes later...)


And Husband only thinks I'm mildly insane for moving the pom-pom arrangement 5+ times.

I have a lot more to do, like:

1.  Make about a million pillows
2.  Refinish Clara's dresser
3.  Hang a gallery wall
4.  Spruce up a teddy bear
5.  Make a bench cushion
6.  Find toy and book solutions
7.  Finishing touches

Maybe I'll have this room finished by the time she's 12 and hates it!

December 21, 2011

Kieren Crafts: Salt Ornaments

One December day, I decided to tackle a Christmas project.  I found a salt ornament recipe and thought it would be a great way to save Clara's hand and footprints from her first Christmas.


I halved the recipe and was able to make 6 ornaments.  I baked them for an hour at 170 degrees, but the backs were still mooshy.  After sitting out for two weeks or so, they have totally hardened up.

This was a super easy craft with a great outcome!

September 27, 2011

Crafty Kieren: Fancy Onesies

Guys, this crafting thing is getting serious up in Casa de Kieren.  I'm starting to stockpile a whole host of adorable onesies.  

In all honesty, though, I don't want Clara to fit into these 3M onesies yet, because that's just  too grown up for my liking.  Next thing you know, she'll think I'm old-fashioned and ask to drive my car.  Eek.

But really, I think she would fit into 3M, but I refuse to touch her perfect skin with anything but NB size.  Until then, I will continue to shove her fat wrists through tiny sleeves and stretch out onesie collars.

Ignorance is bliss, I tell ya.  Bliss.

...

These onesies were inspired by Lou and Lee, as well as a bunch of cuties that I've collected on my pinterest.  I plan on making a lot more once I hunt down some more girly onesies.


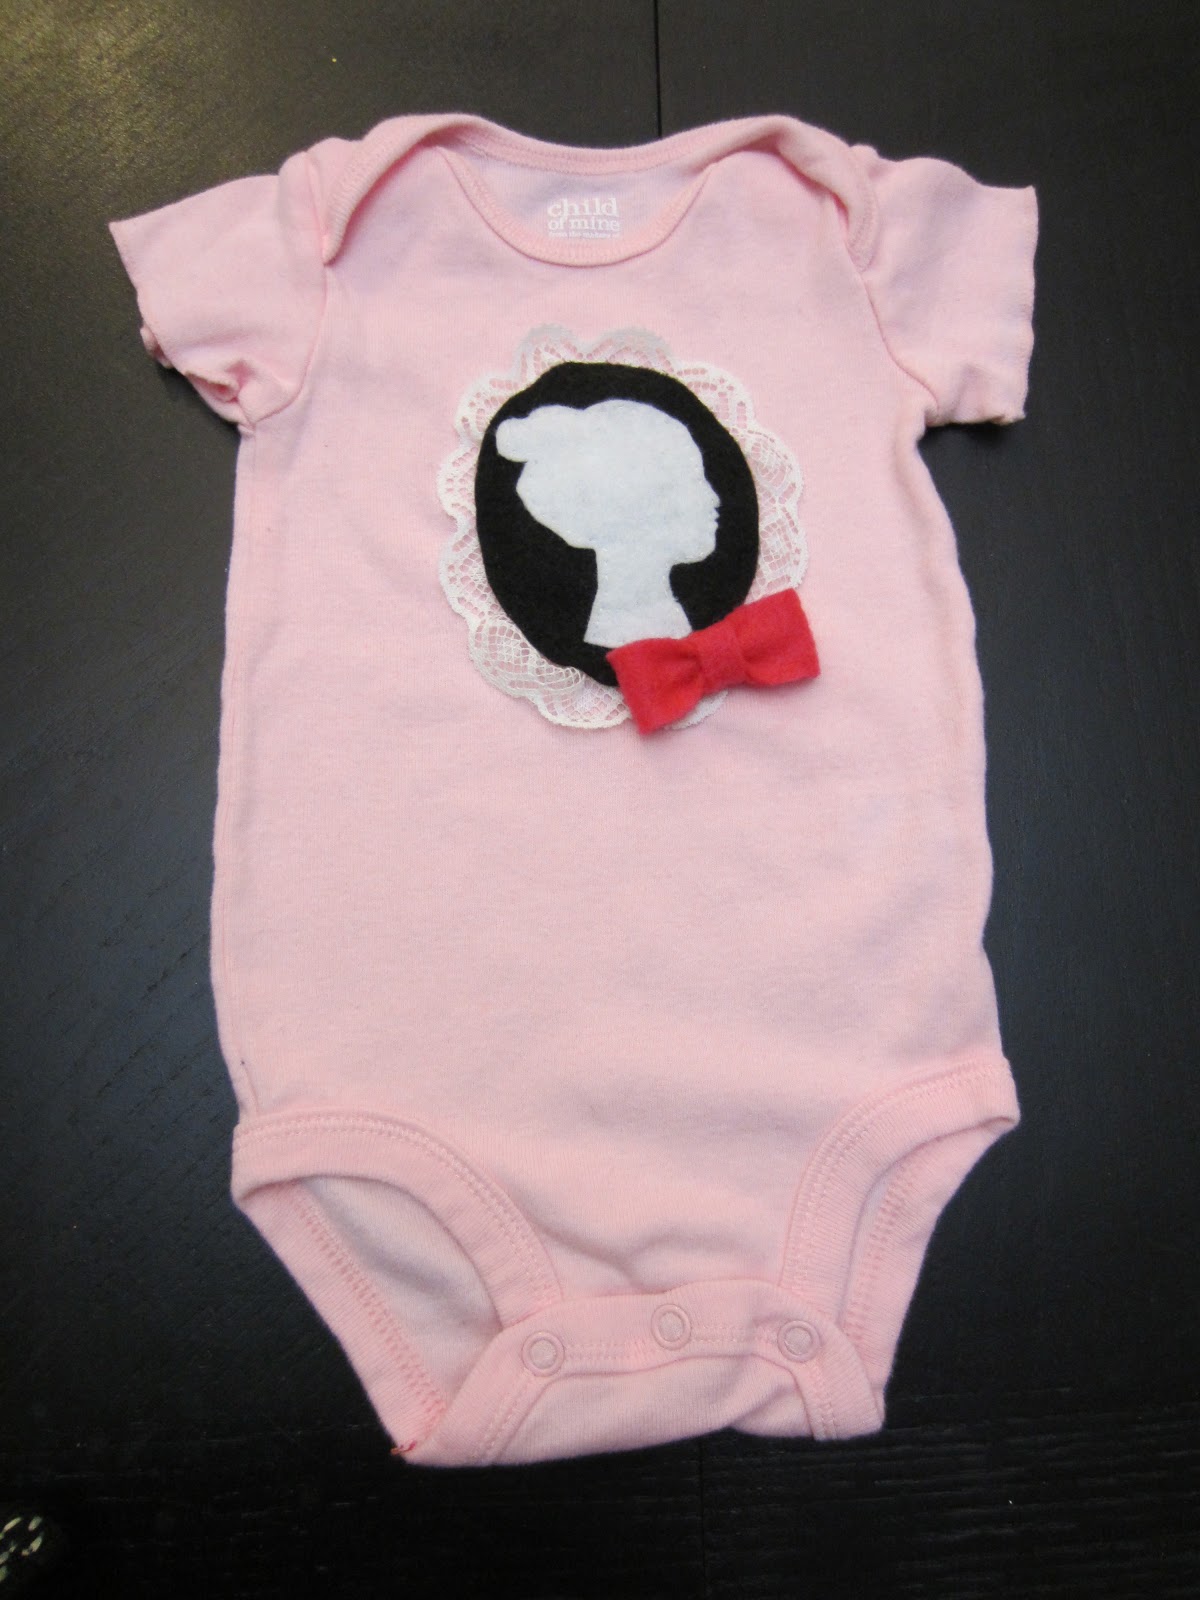
For this one, I used a silhouette I found on Google images, white lace, different colors of felt, and a felt bow (tutorial here).


This onesie got a lot sweeter with the addition of three spiral flowers (tutorial here).

...

More to come!  I look forward to using my baby model for any future creations.


September 26, 2011

Crafty Kieren: More Felt Flowers

Here are two other types of felt flowers.  These are just too much fun.  And the spiral flowers are the easiest craft ever.

The Spiral Flower

These are seriously so simple to create.  

Trace a circular object onto a piece of felt and cut it out.


Then cut the circle into a spiral, going from the outside to the inside.


Once you're finished, cut out a small circle of felt and hot glue it to the back to hold the re-spiraled (yep, I made that word up) flower together.


Tah-dah!

Moving on...

The Little Flower

This type of flower is a little trickier, but I love the shape and volume.  (For detailed instructions on creating this and other little flowers, head over to this website.)


The finished product:


Aren't they cute?  They are even sweeter in person.

Check out these other tutorials:

The Felt Bow
The Felt Peony

September 21, 2011

Crafty Kieren: The Felt Bow

Three cheers for a second, only-slightly-Clara-related post in two days!  


The Felt Bow

I took my inspiration for this sweet bow from the Lou and Lee Etsy shop.  This store has tons of cute baby girl accessories, namely their bows and flowers, which are the perfect size for a tiny newborn.

I couldn't find a tutorial for this type of bow online, so I winged it.  Usually this sort of endeavor ends up in the trash, but these bows were easier than I imagined.

First, I cut a long piece of felt, at the desired width.


One half is for the bow and the other is for the "tails" sticking out of the sides.


I used a pin to hold the bow together so that I could hand stitch the pieces together.  You will find that long stitches pulled tight will give the bow more definition.


Lastly, I cut a small and thin piece of felt to hide my stitches and give the bow a finished look.

As you will see in a later post, you can also eliminate the "tail" piece for a quicker and simpler bow.  It's really up to you.


September 20, 2011

Crafty Kieren: The Felt Peony

You know you're a mom when you wake up shirtless, covered in baby drool, your own drool, and a lot of milk.  Your hypothesis is confirmed when you follow this situation by eating ice cream straight from the carton and blogging... while still shirtless.

It's the mom way.

Nevertheless, this blog post is about relatively useful things, in comparison to the majority of my posts lately, which have been about babies on boobs and, ironically, written while babies are on the boob.  Alas, neither of those is the case today!!  Therefore, you are in for a real treat.

I present to you, my first baby girl tutorial:


The Felt Peony

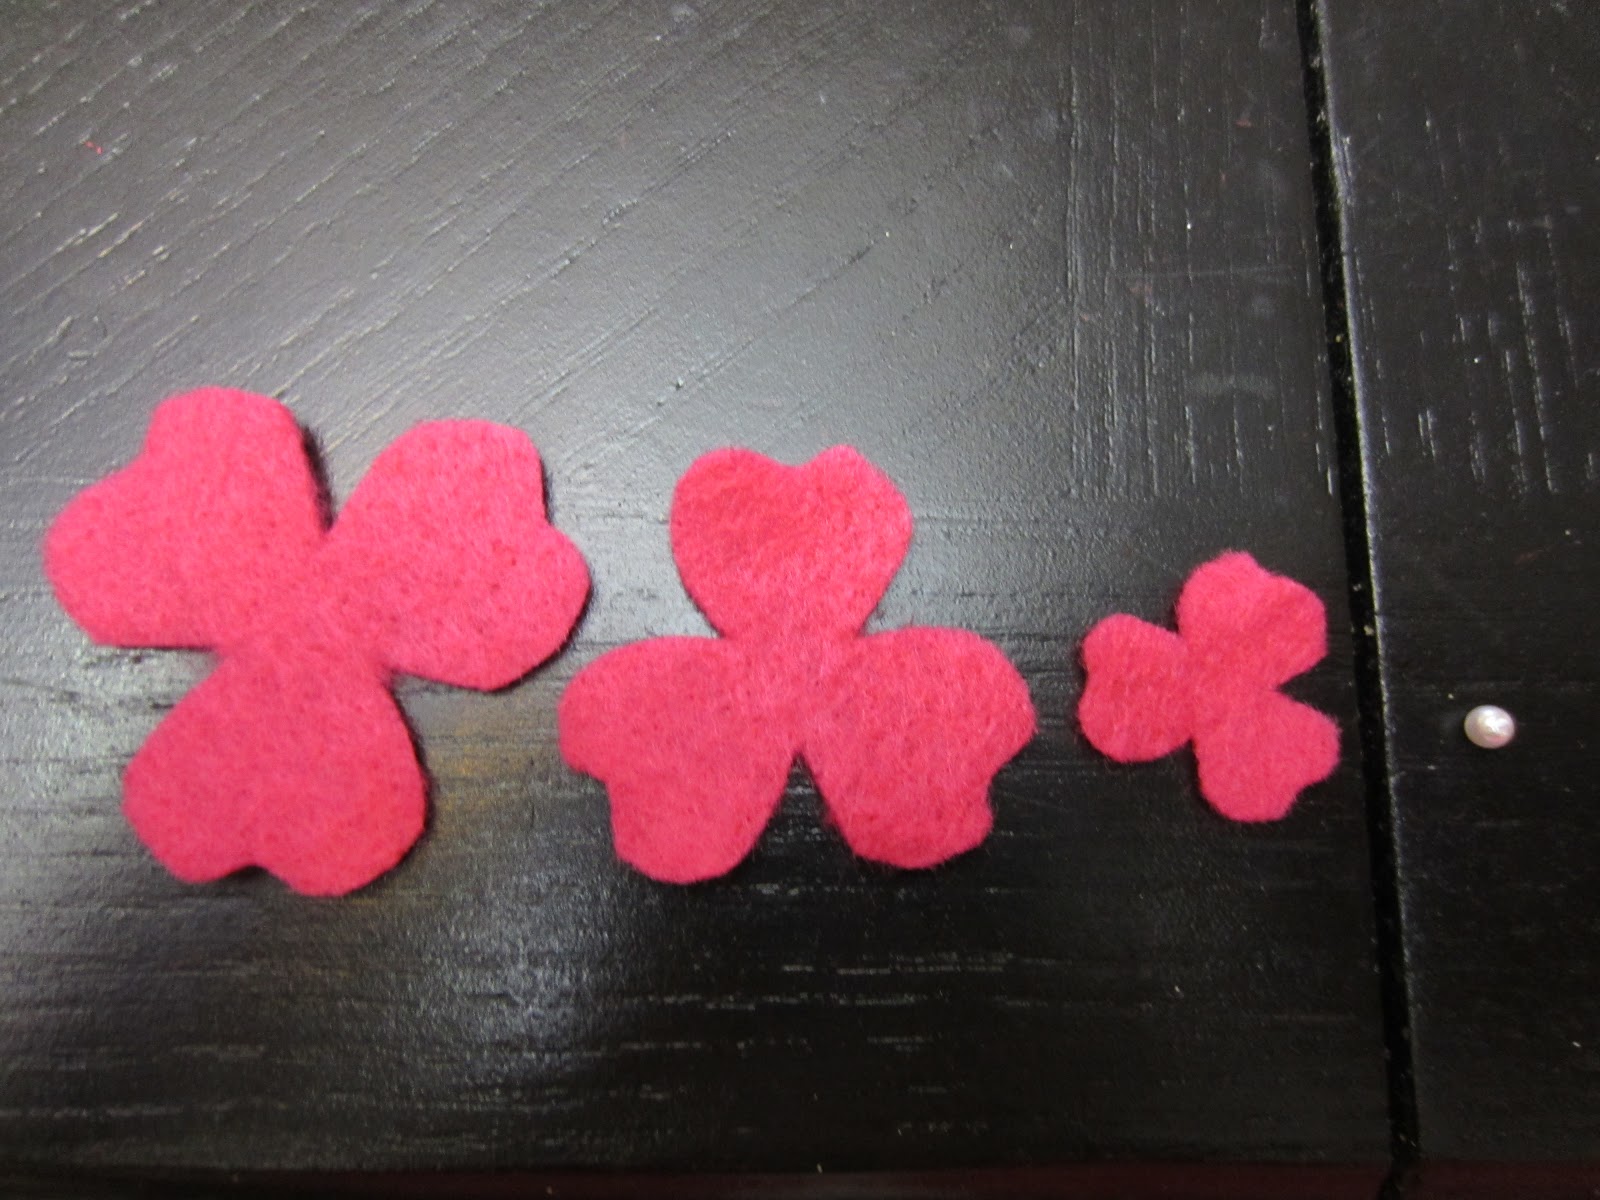
Using this template and some cheap felt, I undertook some newborn peonies.  Since I'm not a fan of the popular flowers that are the size of a newborn noggin, I used only the smallest three petals.


I found it easiest to cut the pattern pieces out of computer paper, pin them onto the felt, and cut around the paper pieces.

Then, I selected a cute pearl for the middle of the flower and made up a little leaf shape or two to attach to the back.


And that's pretty much it, a cute flower in any size or color.  


Stay tuned.  I have two other types of flowers to show you, as well as a really cute bow.

(A stay at home mom has to do something!)


June 5, 2010

Five-Second Cheater Craft


Yesterday, I finished writing all of my wedding thank-you cards.  Now all that's left are the envelopes!

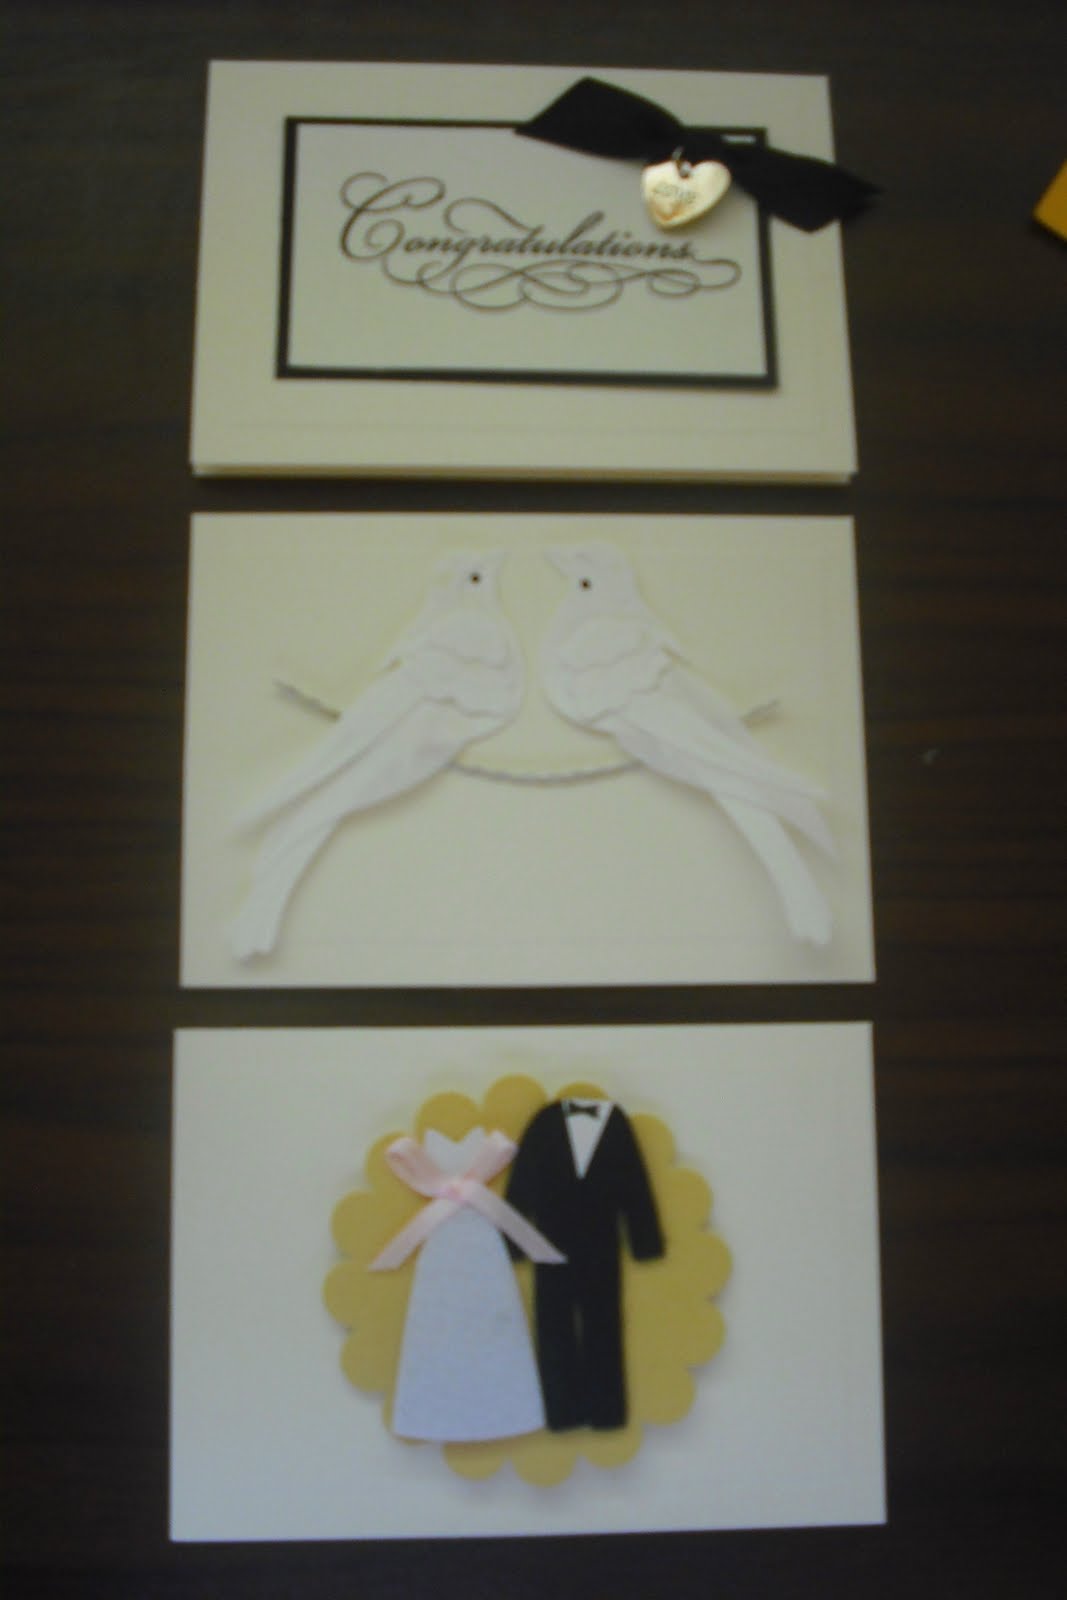
During a thank-you card break, I wrapped up a gift for my SIL.  I used one of my husband's plain white cards, but felt it needed a little pizazz.  Instead of making something cute and unique, I ripped a decoration off one of my wedding cards.

It looked so cute, I decided to refashion of bunch of other cards. 

Ta-da!